
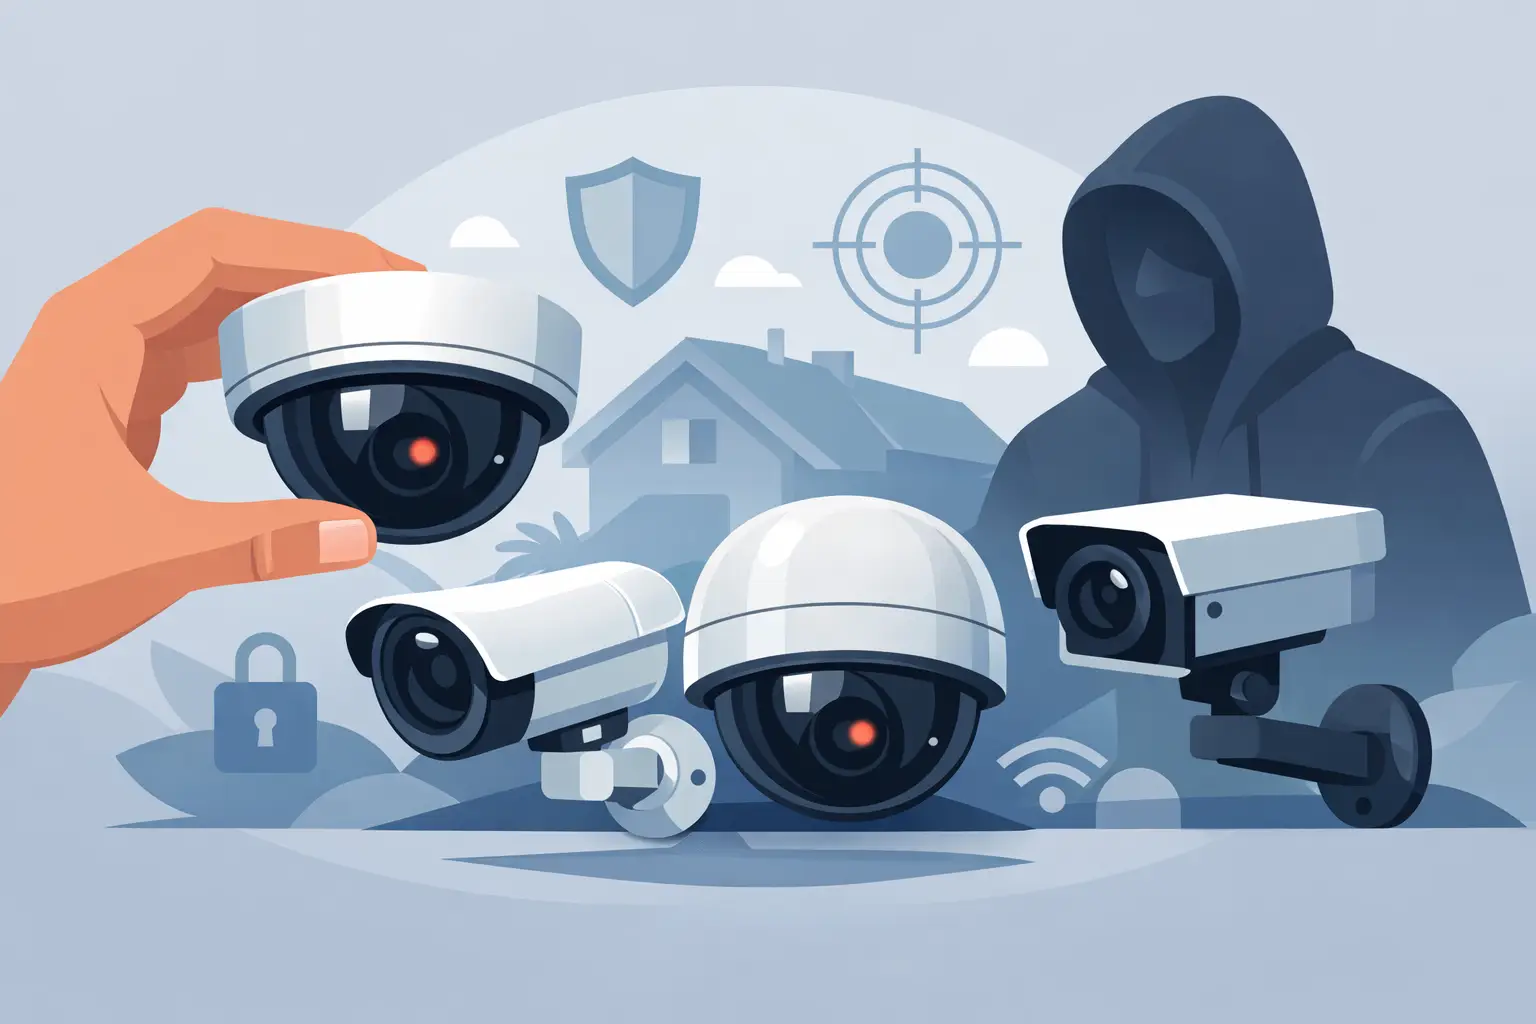
A visible camera at the edge of a driveway, above a garage, or near a back door can make a would-be intruder think twice before testing their luck. Knowing how to pick dummy cameras helps you create that deterrent effect without paying for a full surveillance system in every location. The key is choosing models that look appropriate for your property, holding up where you mount them, and using them as one part of a broader security plan.
Dummy cameras do not record video, send alerts, or replace working security equipment where evidence matters. What they can do is make a property look monitored, add visibility to vulnerable areas, and encourage someone to move on to an easier target. That practical distinction should guide every purchase.
Before comparing camera styles, walk around your home as if you were checking it for easy access. Look at entry doors, side gates, ground-floor windows, detached garages, sheds, patios, and driveways. A dummy camera should be visible enough to be noticed without being mounted in a spot where it looks unnatural.
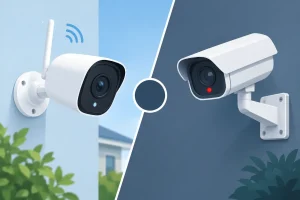
For example, a bullet-style camera often makes sense above a garage, near a front porch, or on an exterior wall facing a driveway. A dome camera may fit better under a covered entryway, inside a lobby, or near a business counter. The style should match the setting. A large, obvious dome on a small backyard fence can look out of place, while a compact outdoor camera near an eave may appear more believable.
Think about sightlines, too. Mounting a camera high on the exterior of the home makes it harder to reach and gives the impression that it covers a wide area. Positioning it where a visitor, delivery driver, or person approaching an entrance will naturally see it is usually more effective than hiding it in a corner.
The most convincing dummy camera is not necessarily the biggest or most aggressive-looking model. It is one that resembles the type of camera a homeowner or small business would realistically install in that location.
Pay attention to the housing, mounting bracket, lens area, and wiring details. A quality dummy camera should have a solid-looking body and a mount that can be secured firmly to a wall, ceiling, or post. Thin plastic that shifts in the wind or a weak adhesive mount can quickly undermine the effect. A stable installation matters as much as the camera’s appearance.
A visible cable can add realism for certain exterior models, especially where a wired camera would be expected. But do not force it. Modern security cameras are often wireless, so a believable unit does not always need exposed wiring. What matters is that the design fits the installation location.
Avoid models with exaggerated labels, unusually large fake lenses, or features that look more like a toy than security equipment. A clean, professional camera shape is generally the stronger choice. If someone notices it, you want their first thought to be “this property is monitored,” not “that looks fake.”
Outdoor placement demands more from a dummy camera. Rain, heat, cold, wind, and direct sunlight can fade plastic, loosen mounts, and cause inexpensive units to look worn out. If the camera will be outside, choose one designed for outdoor use and mount it under an eave or overhang when possible. That small decision can extend its useful life and keep it looking credible.
Check the mounting hardware before installation. Exterior cameras should be anchored with screws suitable for the surface, whether that is wood, vinyl, brick, or concrete. Do not rely on tape for a driveway-facing camera or a unit installed near a frequently used door. A camera that falls down is not a deterrent.
For indoor use, weather resistance is less of a concern, but placement still matters. A dummy camera near a main entrance, hallway, office area, or storage room can signal that access is watched. In these locations, a dome-style camera is often a natural fit because many real indoor systems use that shape.
Many dummy cameras include a blinking red LED. This can make the unit more noticeable, particularly at night or in a dim garage. It can also signal that a security measure is in place from a distance.
There is a trade-off. Not every real security camera has a flashing red light, and a constantly blinking LED may look less convincing to someone familiar with modern camera systems. For some properties, a subtle, realistic-looking camera body is the better option. For others, especially a shed, storage area, or remote gate where immediate visibility is the goal, an LED can reinforce the message that the area is not an easy target.
If the model uses batteries for its light, consider how often you are willing to maintain it. A dead LED does not ruin a dummy camera, but leaving it unattended for years can make the setup look neglected. Choose features you can realistically keep up with.
Scale affects credibility. A large commercial-style camera may be appropriate for a warehouse, large driveway, or detached building. On a townhouse porch or apartment entry, a smaller residential-style unit usually looks more natural.
This is especially true when you use more than one dummy camera. Uniformity helps. Two or three cameras with a similar color, style, and installation height look intentional. Mixing random shapes, oversized housings, and poorly placed units can make the security setup seem improvised.
That does not mean every camera must be identical. A bullet camera can make sense outdoors while a dome camera works indoors. Just keep the choices consistent with the areas they are meant to cover.
A dummy camera works best when it is seen before someone reaches the point of entry. Focus on approaches, not just the door itself. A camera facing a walkway, driveway, side yard, or gate tells a person they may have already been observed.
Prioritize locations such as:
Do not overcrowd the exterior. One correctly placed camera near a vulnerable entrance can be more convincing than five cameras scattered across the house. A cluttered setup can also make it difficult to maintain mounting hardware and replace batteries when needed.
Be mindful of where the camera appears to point. Aim it toward a path, door, or access area, not at the sky, a blank wall, or your neighbor’s private space. Even a non-functioning camera should be installed thoughtfully and respectfully.
The strongest home security plan uses layers. Dummy cameras can create a visible warning, but they are more effective when supported by practical measures that slow down access and draw attention to suspicious activity.
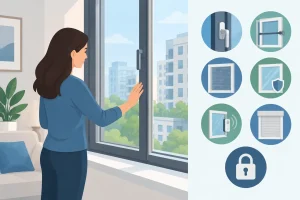
Use reliable locks, reinforce weak entry points, keep exterior lighting in working order, and consider door or window alarms for vulnerable access points. Motion-activated lights can make a camera more noticeable at night while also removing the cover of darkness. For areas where you need recordings, alerts, or evidence after an incident, use a working camera rather than a dummy unit.
A smart approach is to place real cameras at the most critical points, such as primary entrances, and use dummy cameras to extend visible coverage to secondary areas. This can help you manage costs while still presenting a more complete security presence. Elite Warrior Defense customers often look for practical protection that fits a real budget, and this kind of layered setup is exactly where dummy cameras can make sense.
Once mounted, step back and inspect the camera from the street, driveway, sidewalk, and normal approach to the door. Is it visible? Does it appear securely installed? Does it look like it is monitoring a meaningful area? A few minutes of checking can reveal a poor angle or a location blocked by a gutter, tree branch, or porch decoration.
Recheck exterior cameras every few months. Tighten hardware if needed, wipe away dirt, replace batteries in LED models, and watch for fading or cracked housings. Security measures send the strongest message when they look cared for.
The right dummy camera is not about pretending you have a complete surveillance system. It is about sending a clear signal: this property is protected, the owner is prepared, and choosing another target may be the safer decision for anyone with bad intentions.




YOU’RE IN!
Use this code on every order
🎉
Here’s Your Code!
Use it now an on every future order.
YOUR DISCOUNT CODE
We also sent this code to your email for safekeeping.
EXCLUSIVE OFFER
Every order – not just your first!
Unlock Your Discount Instantly
Enter your email below and your personal 15% discount code appears right here – no need to check your inbox.
🔒 We respect your privacy. Unsubscribe anytime.