

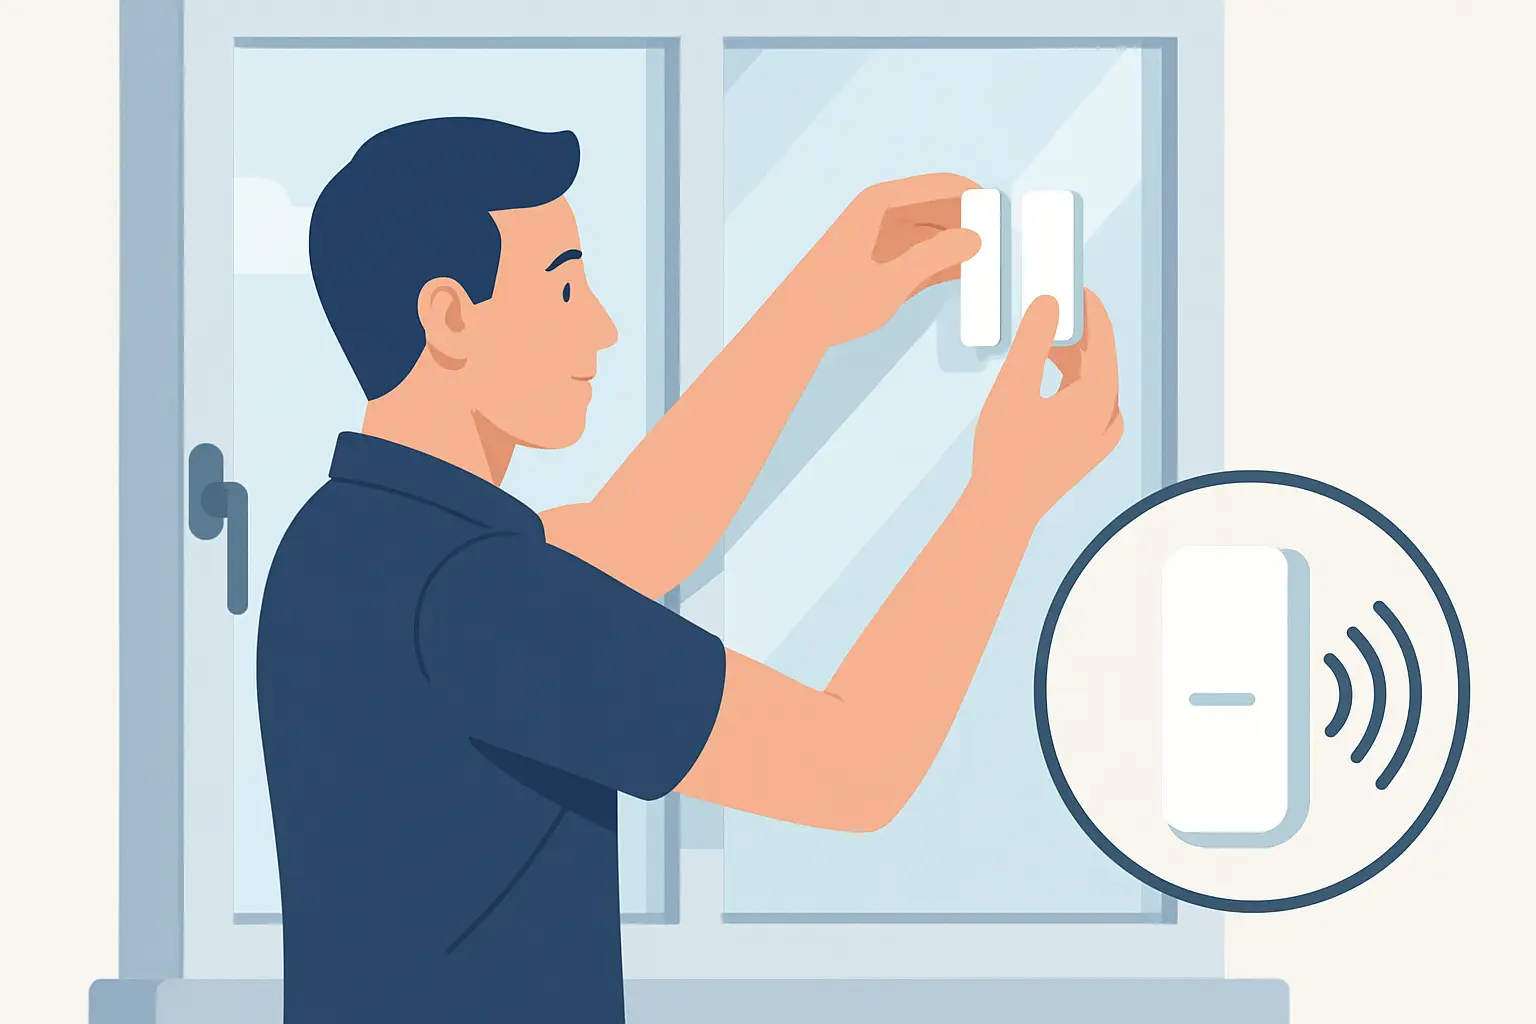
A window is one of the fastest, quietest ways into a home – especially ground-floor windows, basement windows, and anything hidden behind shrubs or a fence line. Window alarms aren’t about paranoia. They’re about forcing a decision: if someone touches that window, you get a loud warning right now. And if you install them correctly, they do exactly what you bought them for.
This is a practical, no-nonsense walkthrough for how to install window alarms on the most common window types, plus the placement tips that separate “it beeps sometimes” from “it actually protects the home.”
Most DIY window alarms fall into two categories. The first is a magnetic contact alarm: one piece goes on the moving window sash, the other goes on the frame. When the window opens and the magnet separates, the alarm triggers.
The second is a vibration or glass-break style alarm that triggers when it senses impact or shaking. These can be useful, but they’re also more sensitive to placement and false alarms. For most households, magnetic contact alarms are the most dependable starting point because they’re simple and predictable.
It also helps to decide what you want the alarm to do. Some units are always armed, others have an on-off switch, and some have chime mode so you get a polite alert when a window opens during the day. If you have kids, pets, roommates, or a busy household, that switch or chime setting matters.
Most window alarms are peel-and-stick, so you won’t need a toolbox explosion. You’ll want a cleaning cloth or paper towels, rubbing alcohol (or a mild cleaner that leaves no residue), and fresh batteries if your alarm doesn’t come with them preinstalled. A pencil can help you mark alignment, and a small tape measure is helpful if you’re doing a whole house and want consistent placement.
If your window frames are dusty, textured, or frequently get condensation, consider upgrading the adhesive with a stronger double-sided mounting tape. That’s not “extra.” It’s how you keep the alarm from falling off at 2 a.m.
You’re looking for a spot where the two pieces will stay aligned when the window is closed, and separate quickly when it opens. On most double-hung windows, that means mounting on the side of the sash and the side jamb (the vertical frame). On sliding windows, it usually means mounting near the closing edge where the sliding panel meets the fixed panel.
A smart rule: place the alarm where it’s less likely to get bumped by curtains, blinds, or hands during normal use. High enough to avoid curious toddlers is a bonus.
Adhesive fails for one reason: it’s stuck to dust, oil, or cleaner residue instead of the frame. Wipe both mounting areas, let them fully dry, and don’t touch the cleaned spot with your fingers afterward.
If you’re installing on vinyl, painted wood, or metal, this step matters more than people think. A “good enough” wipe is usually the difference between a secure mount and a mystery chirp from the floor later.
Magnetic alarms have a maximum gap they can tolerate between the sensor and the magnet. Some are forgiving, some are not. Before peeling the backing, hold both pieces in place with the window closed and make sure they sit flush.
Most alarms have alignment marks or arrows. Use them. If yours doesn’t, use a pencil to make a tiny reference mark, especially if you’re doing multiple windows and want the installs to look clean.
Peel and stick one piece at a time. Press firmly for 20 to 30 seconds. If your alarm has a switch, keep it off until both parts are mounted and you’re ready to test.
Which piece goes on the sash and which goes on the frame? It depends on the model, but the practical goal is the same: put the heavier or “alarm body” piece where it won’t get knocked loose. If the sash gets slammed often, put the alarm body on the frame.
Arm the alarm, then open the window slowly. You should get an immediate trigger as the magnet separates. Close the window and confirm it stops when it’s supposed to.
Now test it again, but open the window the way it would be opened in real life – a quick lift or slide. If it delays, doesn’t trigger, or triggers only when the window is opened wide, your gap is too large or your alignment is off.
These are the classic up-and-down windows. Install the alarm on the lower sash if that’s the one you open most. If you regularly open the top sash for airflow, consider alarming both – or prioritize the sash most accessible from the outside.
Also pay attention to window locks. A window alarm is not a lock. It’s your early warning. Use both.
Sliding windows invite a common mistake: placing the alarm too far from the meeting edge. Mount close to where the window actually separates when it slides open. If you place it near the middle because it “looks nicer,” you can end up with a window that opens a few inches before the alarm triggers.
If your sliding window has a track that collects dust, clean it before installing. Track grime migrates to the frame and ruins adhesive over time.
Casement windows swing outward, so the moving part is different. Place the magnet on the moving sash and the sensor on the frame near the latch side. Avoid placing it near the crank mechanism where it might get hit.
These windows often seal tightly. Make sure the two pieces aren’t rubbing when you crank the window closed. Rubbing causes gradual misalignment.
Basement windows are high value targets because they’re hidden and often older. The challenge is moisture and textured surfaces. Spend extra time cleaning, and strongly consider stronger mounting tape.
Also consider placing the alarm slightly higher on the frame to reduce the chance it gets bumped by storage items or cleaning tools.
If your unit has a chime mode, use it strategically. Daytime chime on ground-floor windows can help you stay aware of unexpected openings without blasting the whole house. At night or when you’re away, switch to full alarm.
The trade-off is human behavior. If a system is annoying, people disable it. Set it up so it supports your life instead of fighting it.
The first mistake is ignoring the alignment marks and “eyeballing” the placement. A magnetic alarm doesn’t need to be pretty, but it does need to be precise. Take an extra 30 seconds and get it right.
The second mistake is mounting on a surface that doesn’t hold adhesive. Textured wood, peeling paint, dusty vinyl, and condensation-prone metal frames can all cause the alarm to fall. If you’re dealing with any of those, upgrade the tape or use a model designed for tougher mounting.
The third mistake is forgetting about the window’s real movement. Some windows shift slightly when locked, some rattle when the HVAC turns on, and some have play in the sash. Mount where the window closes consistently, not where it sits on a “perfect” close.
The fourth mistake is skipping the retest after 24 hours. Adhesive settles. Temperature changes. A quick test the next day catches problems before you rely on it.
If you’re securing an entire home, don’t start by counting windows. Start by thinking like someone looking for an easy entry.
Ground-floor windows that are hidden from the street are high priority. Windows near back doors, decks, and garages matter because they’re common approach routes. Basement windows deserve attention because they’re quiet and often out of sight.
Second-story windows are usually lower risk, but “usually” isn’t “never.” If there’s a roofline, a porch, a ladder stored outside, or a fence that gives access, that changes the calculation.
Window alarms aren’t set-and-forget forever. Batteries die, adhesive loosens, and seasons change.
Plan on testing monthly if your household is high traffic, or at least quarterly if things are calmer. Replace batteries on a schedule you can remember, not when the chirping starts. If an alarm starts triggering randomly, treat it like a warning: either the alignment shifted, the adhesive loosened, or the battery is weak.
If you ever repaint or deep clean frames, remove and reinstall the alarms afterward. Paint and cleaners can undermine adhesive, and a loose alarm is the same as no alarm.
Basic alarms are strong for immediate deterrence and awareness, but they don’t call for help and they don’t create a monitored response. If you travel often, live alone, or have had close calls in your area, pairing window alarms with additional layers can make sense: brighter exterior lighting, a camera covering entry points, and a personal safety tool that stays with you.
If you’re building a full setup, keep it simple and consistent so you’ll actually use it. One reliable layer you maintain beats five layers you ignore.
If you need dependable, budget-friendly window and door alarms along with other home security essentials, you can find options at Elite Warrior Defense.
A window alarm doesn’t make your home “invincible.” It makes it loud, risky, and unpredictable for anyone trying to enter. Install them with care, test them like you’re counting on them – because you are – and you’ll feel the difference every time you lock up for the night.








YOU’RE IN!
Use this code on every order
🎉
Here’s Your Code!
Use it now an on every future order.
YOUR DISCOUNT CODE
We also sent this code to your email for safekeeping.
EXCLUSIVE OFFER
Every order – not just your first!
Unlock Your Discount Instantly
Enter your email below and your personal 15% discount code appears right here – no need to check your inbox.
🔒 We respect your privacy. Unsubscribe anytime.